Here, you can find step-by-step guides on how to prepare your computer for the seminar week.
You will need the following things with you:
- A Mac or Windows computer, the faster, the better :p
- A mouse
- Headphones
Presentation
Unity installation
Go to www.unity.com and create a Unity ID
Then, download and install Unity Hub from www.unity.com/download.
Make sure to download the appropriate version for your operating system (Windows, MacOS).
Open `Unity Hub.
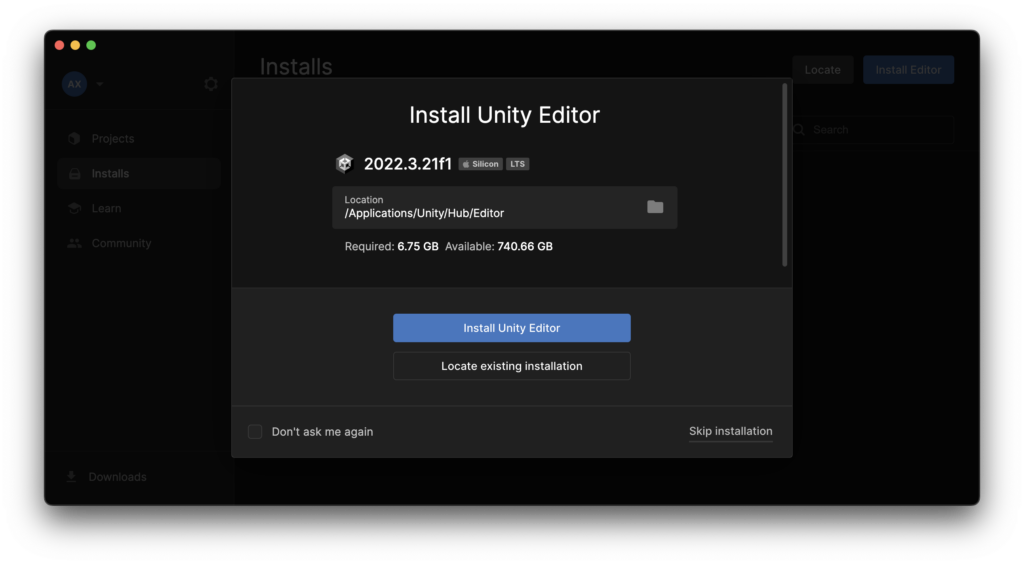
If it’s the first time you open it, you’ll be prompted to install a Unity Editor. Make sure version 2022.3.21f1 is displayed, and click Install Unity Editor (If not, skip installation and follow the next step).
Ignore this step if you did the one before.
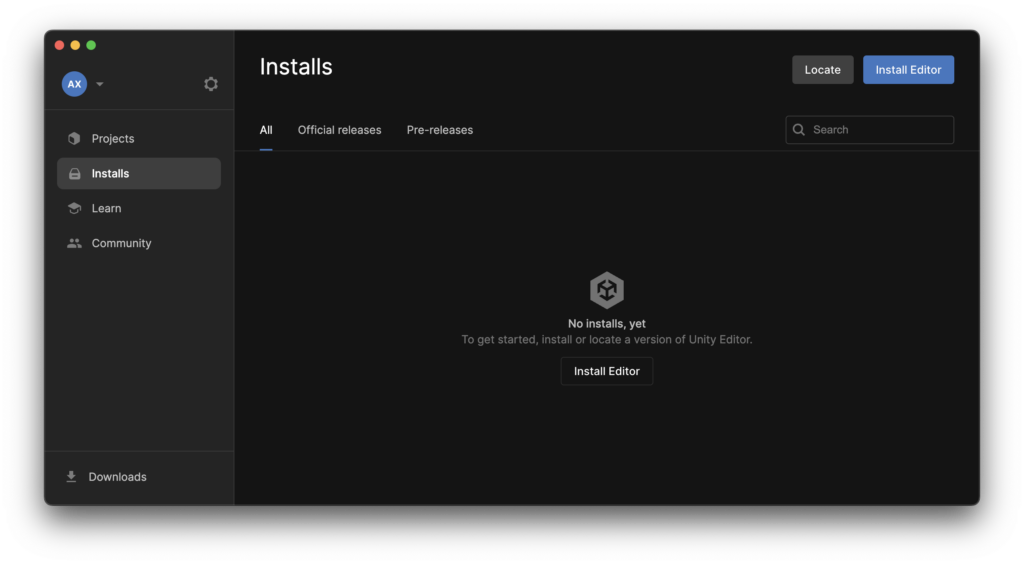
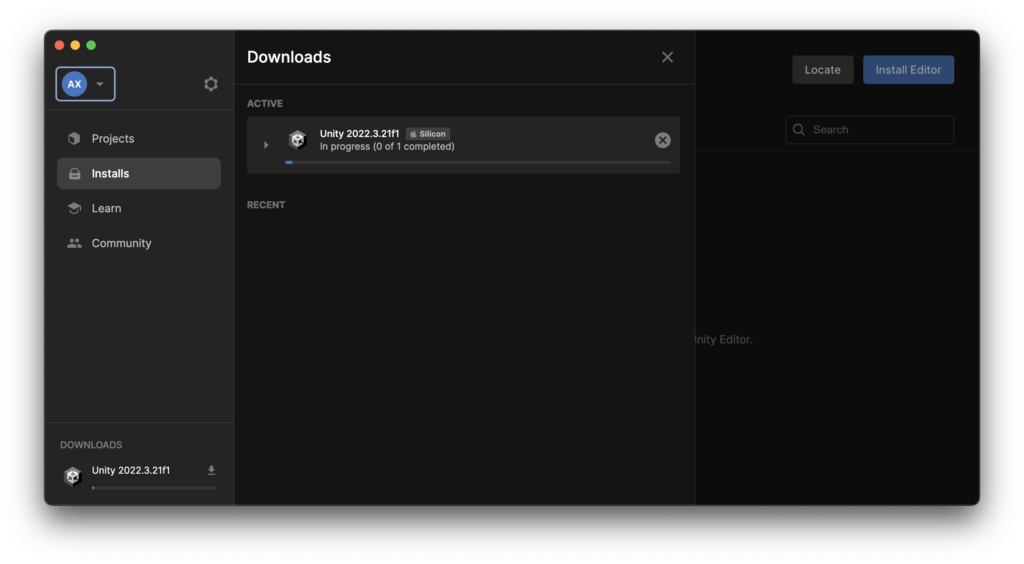
Click on Installs on the left sidebar and then click on the blue Install Editor button at the top right corner.
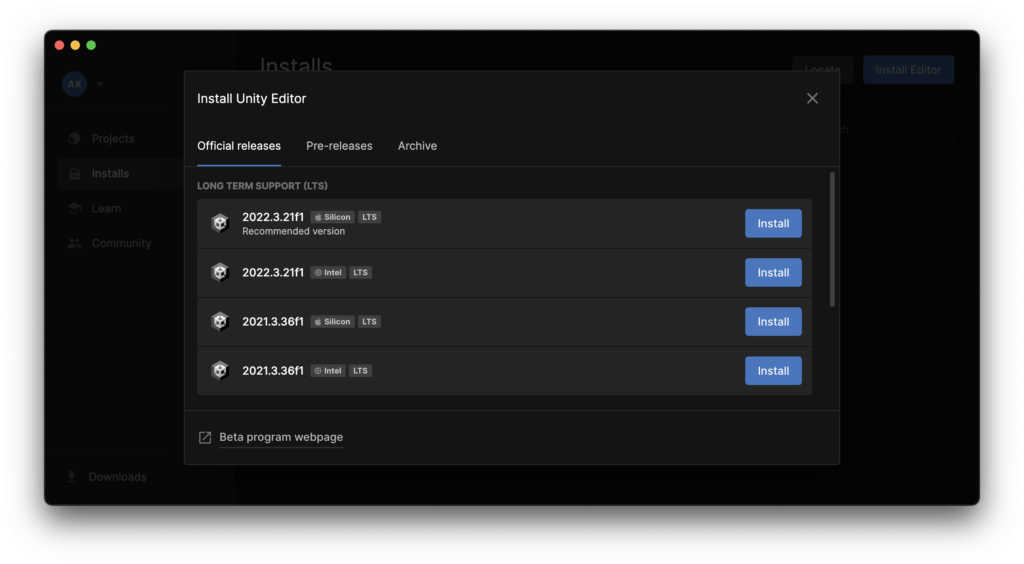
From the Official releases tab, install Unity Editor version 2022.3.21f1.
Mac users
Install the version that says “recommended version” under it. Silicon if your computer has an M1, M2, or M3 processor and Intel if you use a laptop with an Intel processor.
In the next window, click Install.
You might get a popup window during the installation saying that we need to set up a few things. Click Continue.
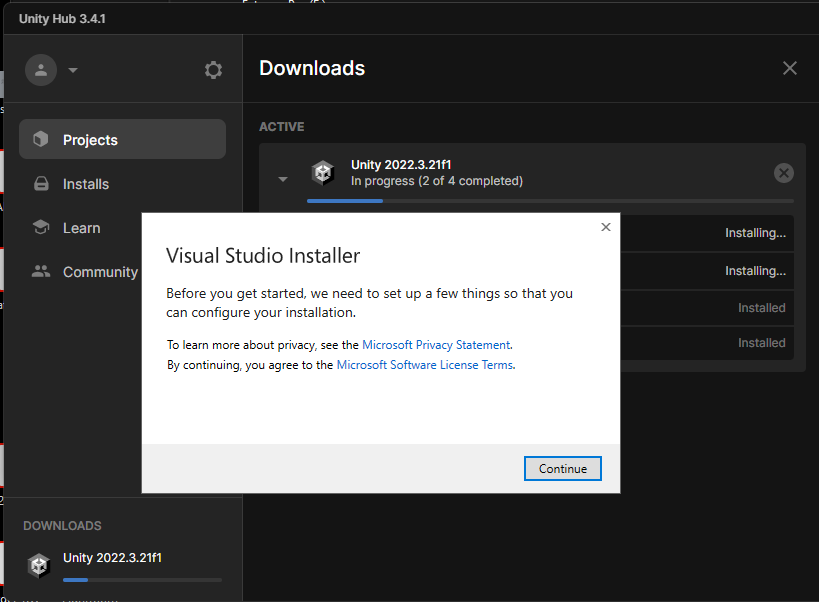
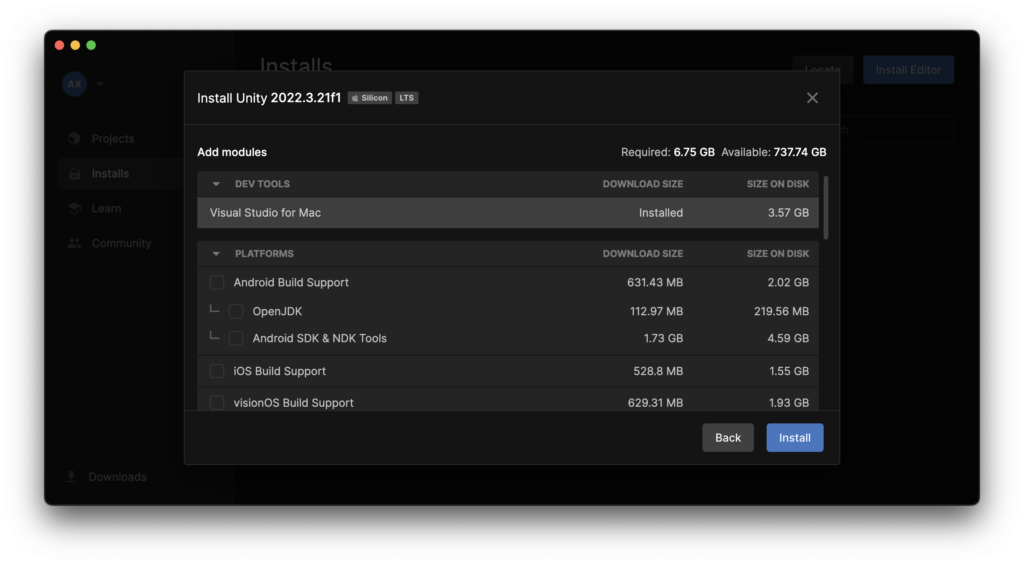
Select Game development with Unity and click Install.

Unity Assets
Download the Steam Audio Unity: steamaudio_unity_4.5.2.zip and extract its contents to any directory you choose.
In Unity Hub, while in the Projects tab, click New project.

Select 3D (HDRP) and click Download template.
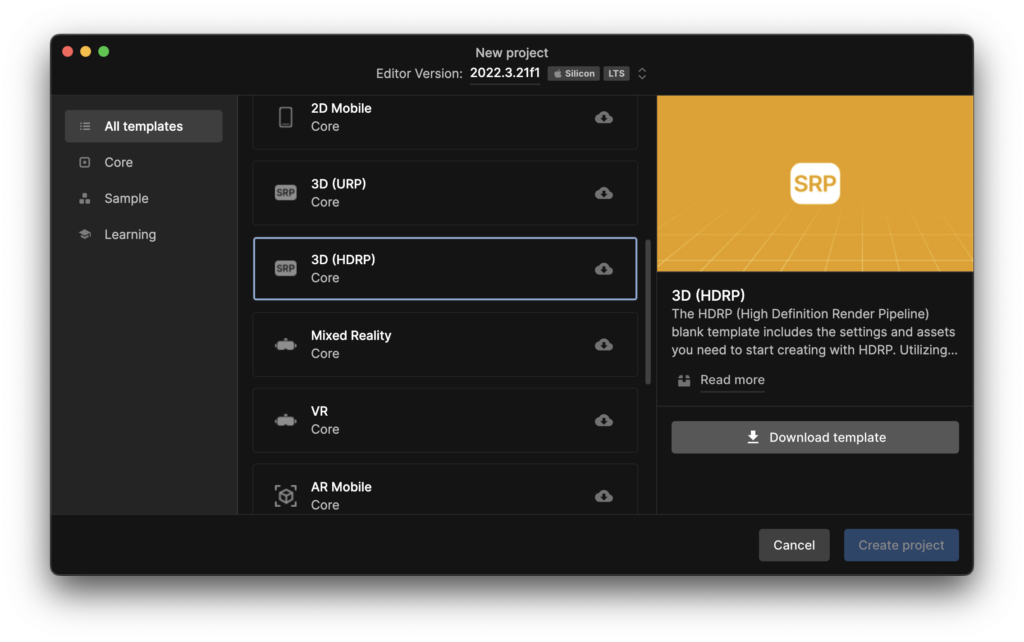
Once the template is downloaded, click Create project. The project will automatically open inside Unity Editor.

Once the Unity Editor loads, you might be welcomed by the HDRP Wizard. Close it and move to the next step.
Optionally, you can uncheck the Show on start option at the bottom of the window.

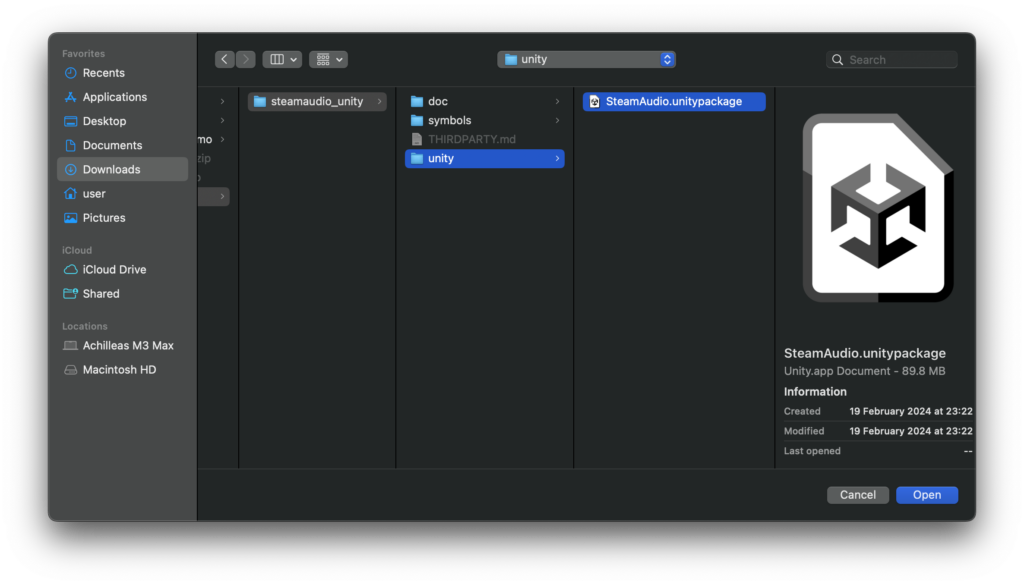
From the main menu, choose Assets > Import Package > Custom Package.

Go to the directory you extracted, steamaudio_unity_4.5.2.zip, navigate inside the Unity subfolder, select SteamAudio.unitypackage and click open.
On Windows, the file explorer looks different, but you know how to find a file inside a folder 😉
In the Import dialogue box, make sure everything is selected, and click Import.
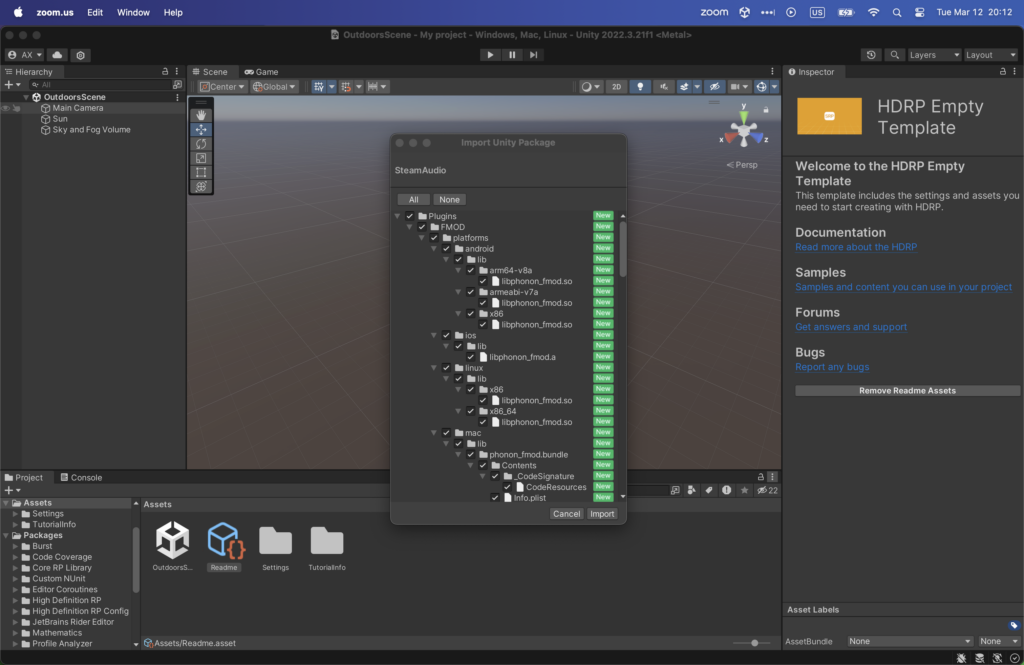
Done 🙂
Sample Unity Project
We prepared a Unity project that we’ll use during the seminar week. Follow the steps below to set up your Unity Editor and check that everything is installed correctly.
Download the appropriate zip file according to your operating system and extract it at a location of your choice.
Mac, Windows
Inside Unity Hub, in the Projects tab, click the arrow next to the Add button and choose Add project from disk.
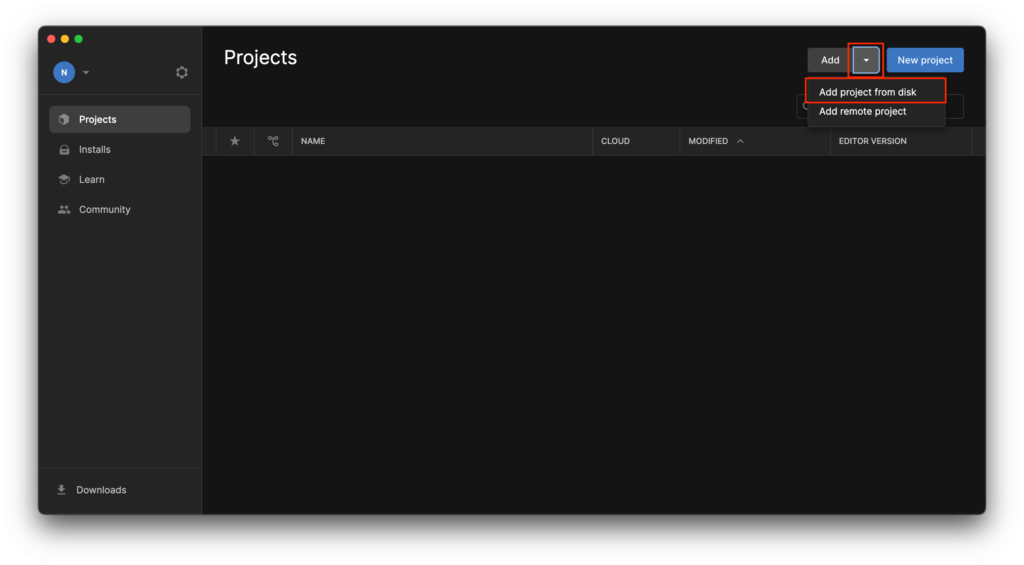
Navigate to the location where you extracted the sample project, select the folder, and click Add Project. If you select the correct folder, you can see the project on the list.
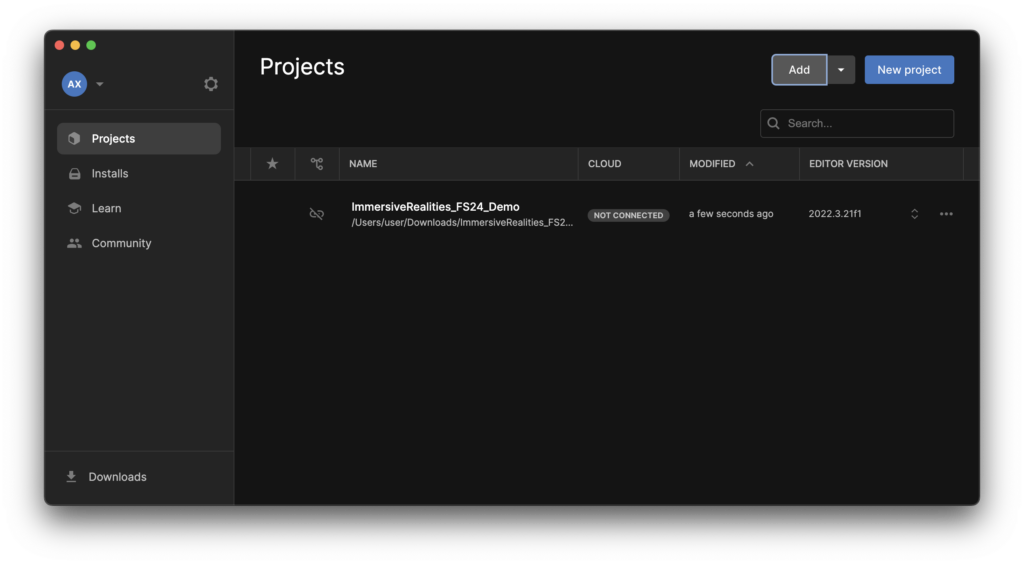
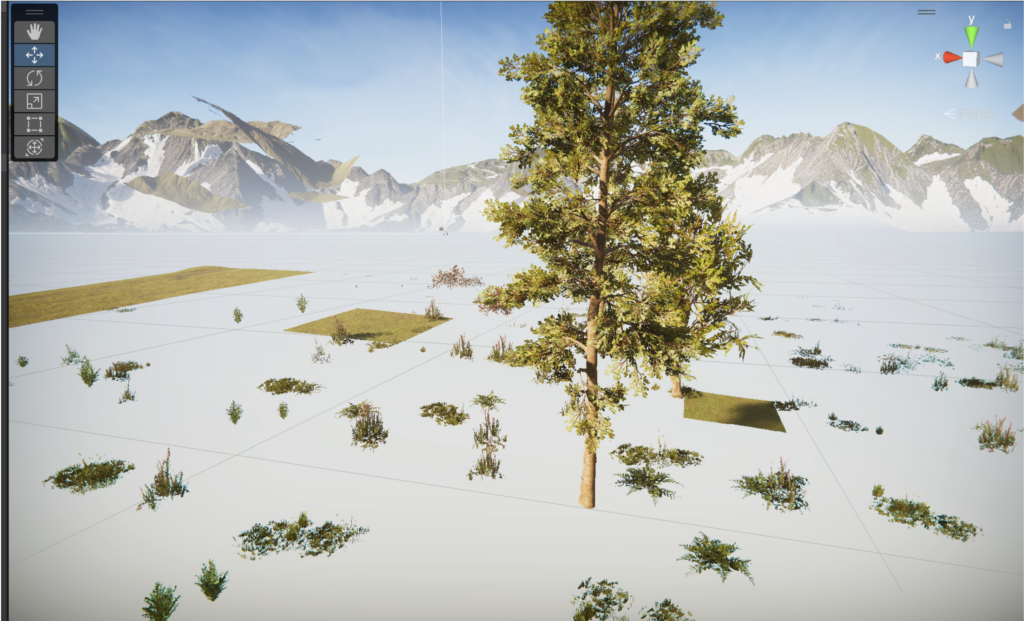
Click on the project to open it. Once the project is loaded, you should see the following screen.

Finally, click the play button at the top of the Editor. Once the Unity Editor compiles the scene, use your mouse to turn the camera left and right, and the keyboard arrow keys to move around. Don’t forget to put on headphones!
Troubleshooting
In case your Unity Editor does not look like the screenshot and video above and it rather looks like the image below, please send us an email describing:
- Computer type (Mac, Windows)
- CPU type (Intel, Apple M1, etc)
- OS version (Windows 10, Windows 11, MacOS 14.4, etc)
- At least one screenshot of the Unity Editor
When you open the sample project or click play, you might see an error like the image below. Click Move to Trash, and without closing the project, repeat the steps to import the Steam Audio asset. After you import it, press play again, and there should be no more errors.

Steam Audio
Here are some videos that show you how to set up and use SteamAudio in your project.
Adding an audio source
Adding audio geometries
Adding the audio listener
Important
Every time you add or change a GameObject with a Steam Audio Geometry component attached to it, you must click Steam Audio > Export Active Scene.
YouTube Audio Library
You can find sounds that are free to use at the YouTube Audio Library.
Baking Global Illumination (GI)
Lightmapping is the process of pre-calculating the brightness of surfaces in a Scene and storing the result in a Texture called a lightmap for later use. With this approach, we trade the ability to move our lights at gameplay for a potential increase in performance, suiting less powerful hardware such as mobile platforms.

Custom Unity scripts
You can find the following scripts on the Nextcloud server.
- Player controller
- Camera footsteps
- Play sound when the camera collides with an object.
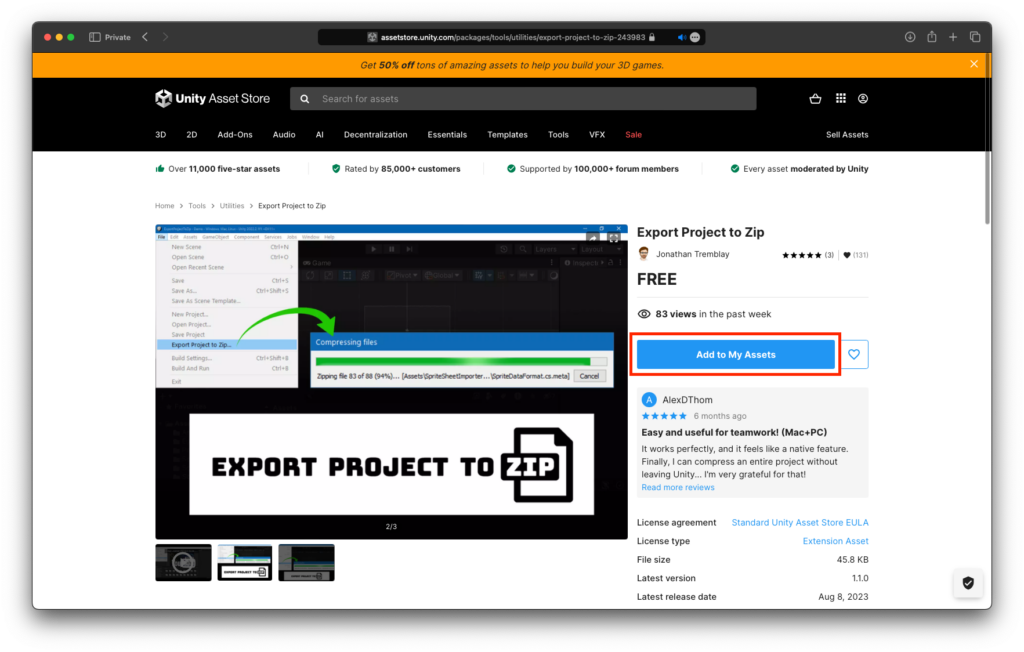
Export/Zip Unity Project
Follow the steps below to add and learn how to use the Export Project to Zip package to your Unity project.
1. Visit the Unity Asset Store and add the Export Project to Zip package to your Unity Account.
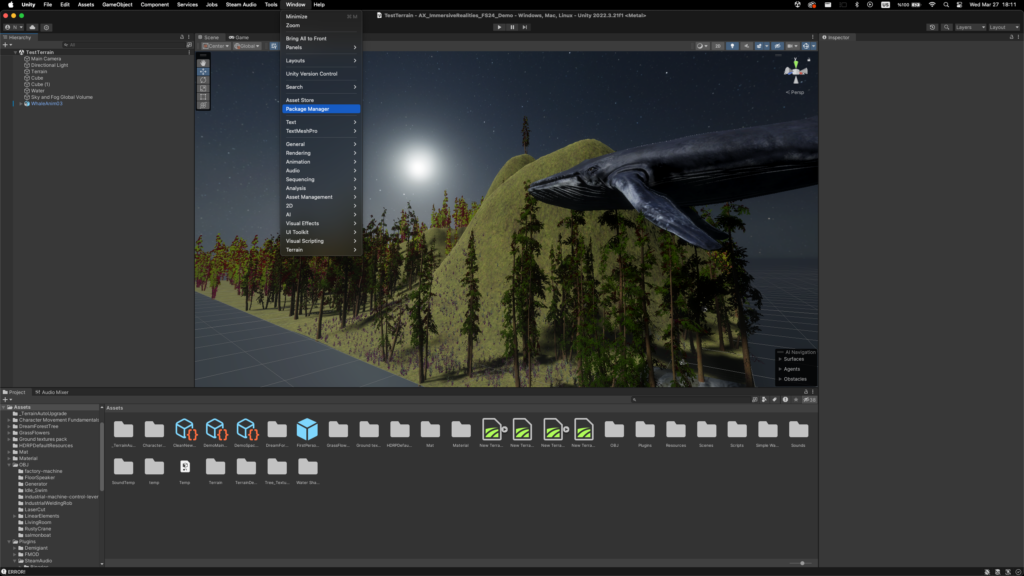
2. Open your project from Unity Hub.
3. Go to Window > Package Manager.
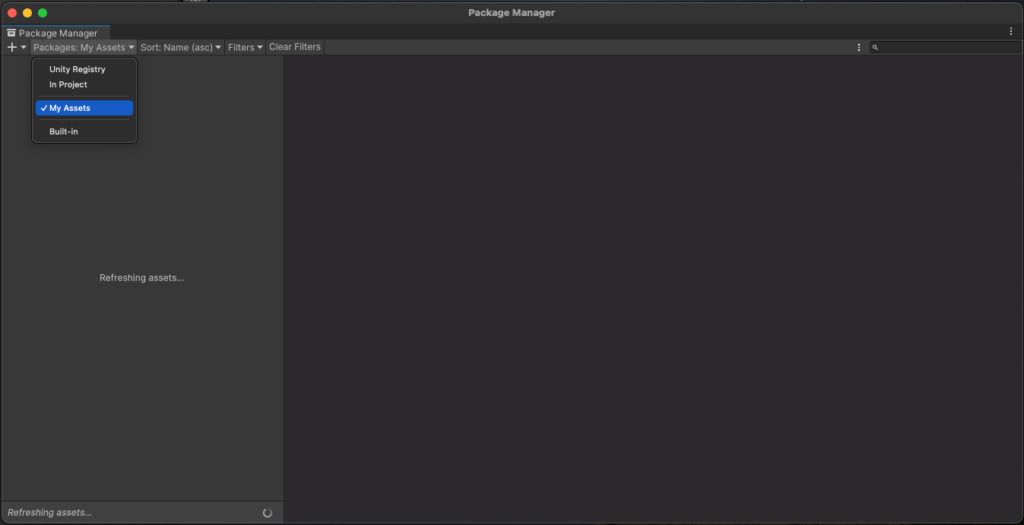
4. Click on Packages at the top left corner of the window and select My Assets.
5. Search for export. Once you find it, click on it at the left sidebar.
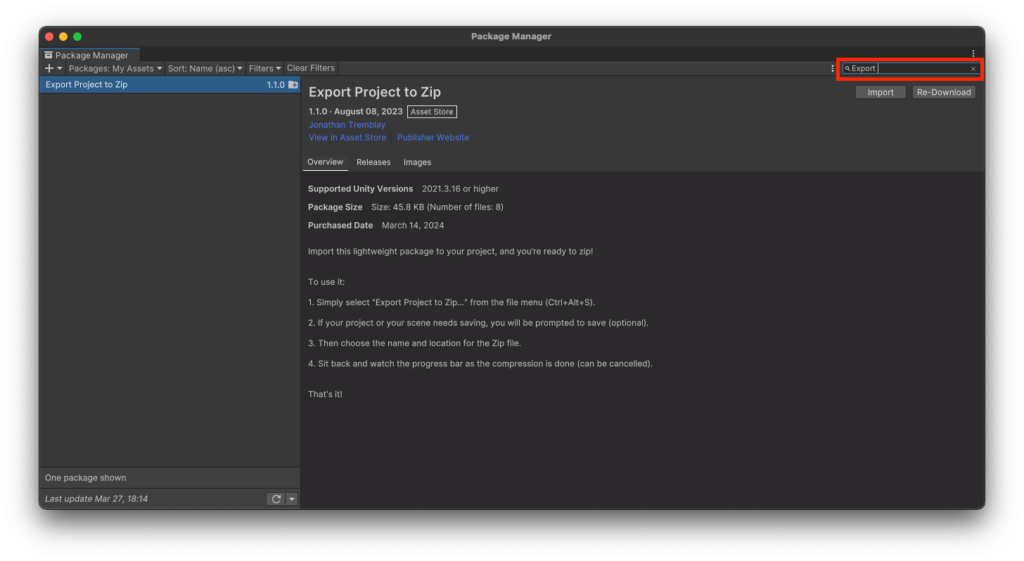
6. Then, click Download and once it’s done, click Import.

8. Go to File > Export Project to Zip and select the destination folder.

Done 🙂
Reaper
Download and install the REAPER Digital Audio Workstation. We will use this software to record and edit sounds.